Check PC-Part Compatibility Before Buying: CPU, BIOS, RAM, Case and Power
Build a list of exact model numbers before buying parts. Check conditions beyond a matching socket: a CPU may need a newer BIOS, and a GPU can fit lengthwise while leaving insufficient cable clearance. Resolve unknowns in the list before ordering.
Published · Updated · FaultNote editorial policy
Who this guide is for and what to prepare
- People choosing parts for a first PC build
- People checking reused parts during a CPU or GPU upgrade
What you need
- Collect exact CPU, motherboard, memory-kit, GPU, cooler, case, and PSU model numbers.
- Open each manufacturer's specifications, CPU list, memory QVL, and manual.
- Distinguish new, used, and reused parts and flag unknown firmware or missing accessories.
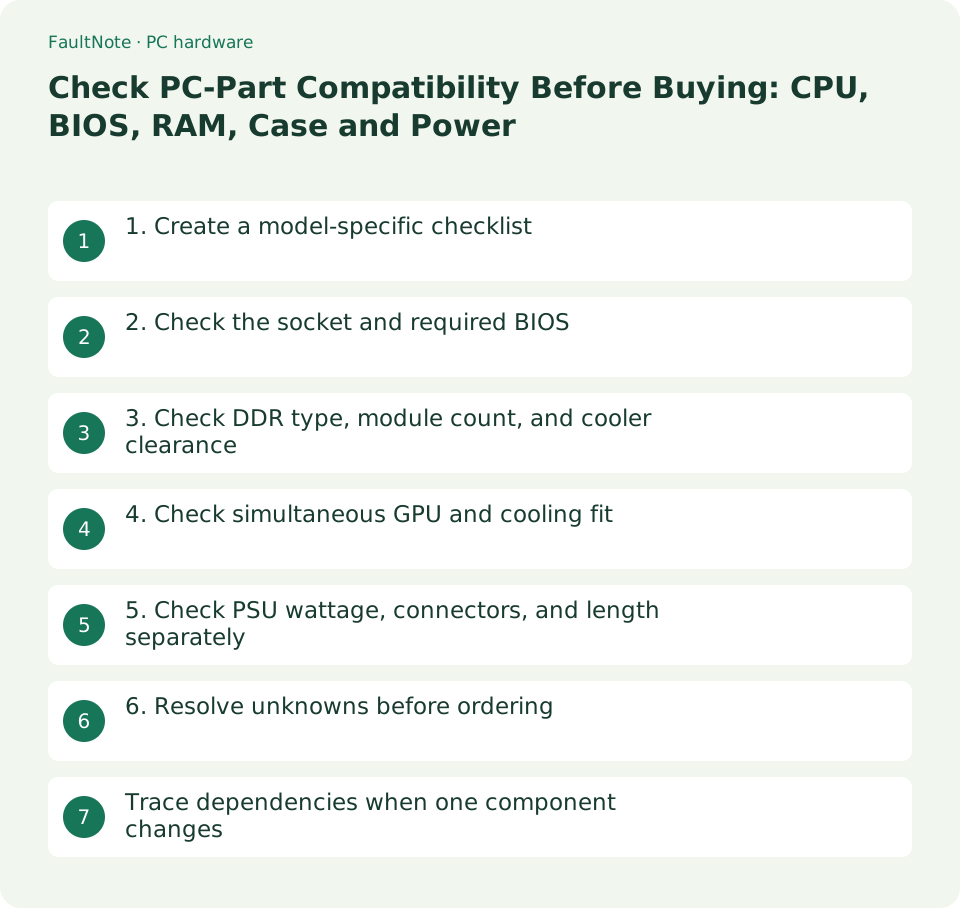
1. Create a model-specific checklist
A family name or shortened listing can hide differences in Wi-Fi, DDR generation, or board revision. Match the specification page to the item being ordered.
Scroll horizontally to see the full table →
| Pair | Check | Resolved when |
|---|---|---|
| CPU and motherboard | Socket, supported CPU, required BIOS | The CPU is listed and the shipped BIOS or update plan is confirmed |
| Memory and board | DDR type, kit model, module count | The selected configuration's conditions are checked |
| GPU and case | Length, height, thickness, cable space | It fits with other installed parts |
| Cooler, RAM, and case | Mount, RAM clearance, total height | The fan position leaves sufficient side-panel clearance |
| PSU and system | Capacity, connectors, cables, PSU length | Both electrical and physical requirements are met |
- Record the exact model, manufacturer URL, seller, and unresolved checks for each part.
- Compare the relevant parts against each other using the checks below.
2. Check the socket and required BIOS
A matching socket is only the first check. Look up the exact CPU and BIOS requirement in the motherboard's support list; firmware already installed on stock can vary.
- Open the board's CPU Support page and search for the exact processor.
- Record the required BIOS and ask the seller about shipping firmware or an update service.
- If an update is needed before first boot, check that board's manual for CPU-less update support and establish a workable plan before buying.
3. Check DDR type, module count, and cooler clearance
DDR4 and DDR5 are not interchangeable modules. For example, the AM5 TUF GAMING B850-PLUS WIFI uses DDR5, and its advertised maximum rates depend on CPU and memory configuration.
Raising a tower cooler's front fan to clear RAM increases its overall height. Noctua likewise directs users to consider RAM height together with case clearance.
- Check the board's DDR and DIMM type, then inspect the kit model, capacity, and supported module count in its QVL.
- Check the cooler's socket support and supplied mount, RAM height, and total height including fans.
- Recheck the configuration if you plan to add another kit or change the module count.
4. Check simultaneous GPU and cooling fit
A case's maximum GPU length can decrease with a front radiator. Fractal's North XL product sheet lists 413 mm with front fans or 380 mm with a front-mounted 420/360 mm radiator, so comparing headline maxima alone can miss a conflict.
- Compare the exact graphics card's length, height, and thickness with the case's conditional limits.
- Check radiator and fan positions, cable routing, lower expansion slots, and drive clearance.
- For rear-connector boards or other special layouts, check explicit case support rather than relying on the ATX label.
5. Check PSU wattage, connectors, and length separately
Enough wattage does not compensate for missing GPU or CPU connectors. A PSU body may also fit while leaving insufficient room for plugs and cable routing.
North XL PSU clearance changes with HDD-tray use. For modular cables, use the PSU manufacturer's compatibility list rather than judging by appearance.
- Compare the GPU maker's PSU recommendation and connectors plus the board's CPU-power sockets with the PSU's included cables.
- Check the PSU form factor, body length, and clearance with drive trays installed.
- For a reused PSU, verify that all required model-compatible cables are present.
6. Resolve unknowns before ordering
A completed checklist documents the compatibility conditions; it is not a guarantee from a tested assembled system. Save the seller's initial-fault and return arrangements too.
- Resolve uncertain BIOS, dimensions, connectors, and shared-lane conditions with the maker or seller.
- Check that the case's front USB-C and required USB, display, and network connections can actually be used.
- Save model numbers, source pages, and the check date; revisit affected checks whenever a part changes.
Trace dependencies when one component changes
A GPU upgrade changes thickness, auxiliary power, side-panel cable clearance and PSU requirements as well as length. The card body fitting does not prove the panel can close without stressing a connector. Recheck length against the actual front-radiator configuration.
Record evidence and unknowns rather than only pass/fail. Distinguish CPU-list support, required BIOS and unverified shipped BIOS so retailer questions are specific. A QVL entry with different CPU or module count is not the same validation. Do not infer model suffix or board revision solely from photos.
Purchase checks are not a boot guarantee. Record labels, serials and assembly; begin with manufacturer baseline settings. For a failed start, stop and compare the actual configuration with evidence instead of changing everything together. Independently back up reused storage and do not initialize it for a boot trial.
Scroll horizontally to see the full table →
| Condition | Action | Boundary |
|---|---|---|
| Required BIOS known, stock unknown | Ask retailer about shipped BIOS | Supported boot route available |
| RAM model matches QVL only | Match CPU and count too | Listed and purchased conditions agree |
| Card fits but side panel is close | Inspect connector routing | No forced connector stress |
| Important data on reused SSD | Create independent backup first | Separate PC trial from data recovery |
- Record exact component models and revisions together.
- Match CPU support, BIOS and memory conditions for the same CPU.
- Check simultaneous GPU and cooling placement in drawings.
- Map PSU length, outputs and supplied cables to connections.
- Ask about unknown shipped BIOS or mounting parts and retain answers.
- Match delivered labels to the order and begin baseline initial checks.
Limitations and requirements
- A QVL records tested conditions; do not treat it as a guarantee for every firmware, module count, or setting.
- Cards using the same GPU chip can differ in dimensions and power connectors between manufacturers.
- This is a purchase checklist. Follow the exact model's official procedure for firmware updates and installation.
Frequently asked questions
Is a matching CPU socket enough?
It is one requirement. Check the CPU list, required BIOS, board conditions, and whether the supplied board is ready for that processor.
Is GPU length the only dimension to check?
Also inspect height, thickness, power-cable clearance, and radiator conflicts. Read the conditions attached to the case's maximum length.
Does an unlisted memory kit never work?
Absence alone does not prove incompatibility, but it does not establish validation under the same conditions. Check manufacturer support and retailer assistance.
Can I retire the old PC after compatibility checks?
Retain the old environment and backups until data, recovery information and actual work are verified. Matching specifications does not complete migration.
Sources and verification date
Sources checked: . These sources support the specifications, procedures or prices discussed here. Check each source for applicable conditions and current information.
- Build a gaming PC: planning parts and compatibility ↗
- ASUS CPU and memory support-list lookup ↗
- ASUS TUF GAMING B850-PLUS WIFI specifications ↗
- Fractal North XL specifications ↗
- Fractal North XL PSU compatibility ↗
- Noctua CPU-cooler RAM clearance ↗
- CORSAIR PSU cable compatibility ↗
- SAPPHIRE NITRO+ RX 9070 XT OC specifications ↗
- Fractal North XL product sheet: conditional dimensions ↗
- CORSAIR modular PSU cable compatibility ↗
Related practical guides
- Your DDR5-8000 kit boots at the default speed: XMP, EXPO, CPU rated memory speed and warranty wording
- DDR4 vs. DDR5: Choose for a New Build, Reused RAM and Upgrade Cost
- DDR5 with Two or Four DIMMs: Compare Upgrade Speed Limits and Kits
- DDR5 CUDIMM explained: what the on-module clock driver changes, and how to check board support
- CAMM2 and LPCAMM2: the third kind of laptop memory, and what it does and does not tell you about upgrades
- Before dropping in a newer CPU: check the specification for a button that flashes the BIOS with no CPU fitted